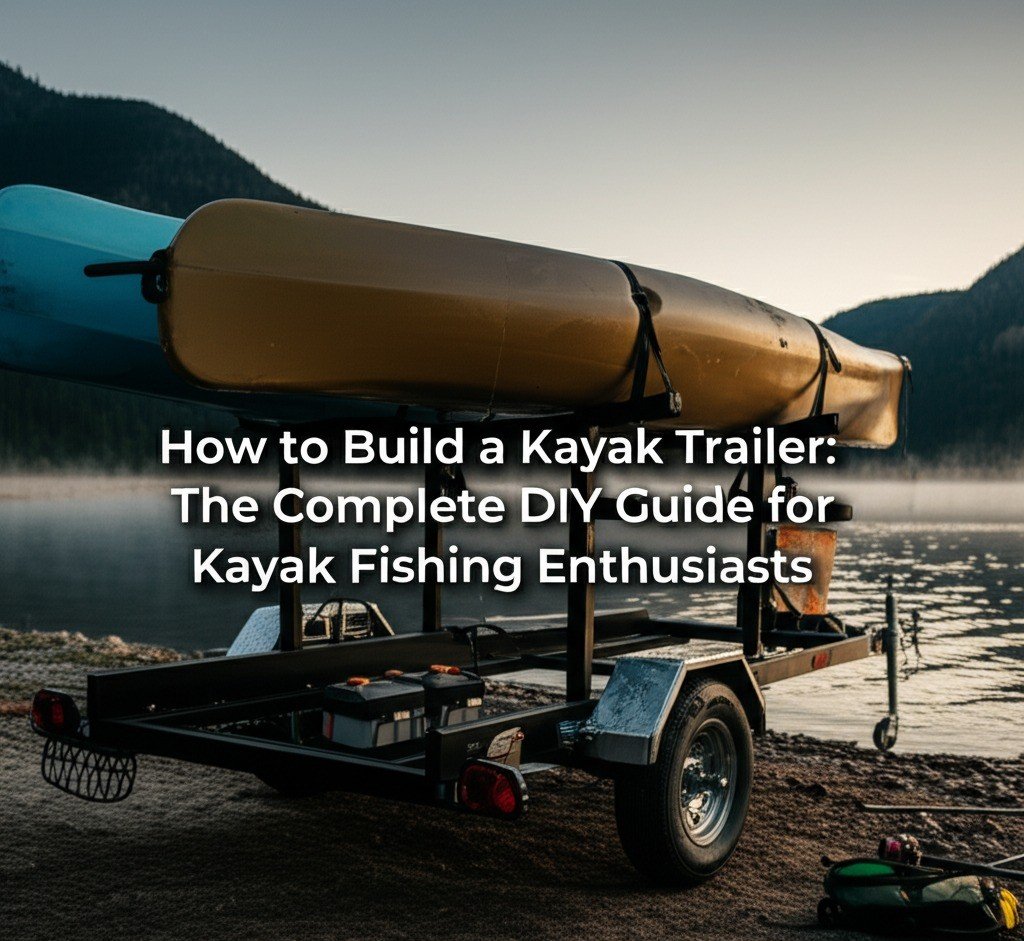
Picture this: you’ve finally saved up for your dream fishing kayak, spent countless hours researching the best fishing kayaks 2025 has to offer, and you’re ready to explore every fishing spot within a 100-mile radius. There’s just one problem – how do you transport your prized vessel safely and efficiently to all those remote fishing locations? Wrestling with roof racks, struggling with heavy lifts, and worrying about highway damage can quickly turn your fishing adventure into a nightmare. The solution? Learning how to build a kayak trailer that perfectly fits your needs and budget.
Building your own kayak trailer isn’t just about saving money (though you’ll typically save 40-60% compared to commercial options). It’s about creating a custom transport solution that accommodates your specific kayak dimensions, fishing gear storage needs, and towing vehicle capabilities. Whether you’re hauling a single fishing kayak or multiple vessels for family adventures, a well-built DIY trailer transforms your fishing experience from stressful to seamless.
Key Takeaways
- Cost Savings: Building your own kayak trailer typically costs $300-$800 versus $800-$2,000 for commercial options
- Customization: Design storage solutions for your specific fishing gear, rod holders, and kayak accessories
- Skill Development: Learn valuable welding and fabrication skills while creating exactly what you need
- Durability: Choose materials and construction methods that match your usage patterns and environment
- Legal Compliance: Understand weight limits, lighting requirements, and registration needs in your area
Understanding Kayak Trailer Basics
Before diving into how to build a kayak trailer, it’s crucial to understand the fundamental components and design principles that make these trailers effective. A kayak trailer serves as more than just a transport platform – it’s a specialized system designed to protect your investment while providing convenient access to fishing locations.
Key Components of a Kayak Trailer
Frame Structure: The backbone of your trailer, typically constructed from steel or aluminum tubing. Steel offers superior strength and lower cost but requires rust protection, while aluminum provides corrosion resistance at a higher price point.
Axle and Suspension: Determines weight capacity and ride quality. Most DIY kayak trailers use single axles rated for 1,000-3,500 pounds, more than adequate for multiple kayaks and gear.
Bunks and Support Systems: These cradle your kayaks during transport. Proper bunk design prevents hull damage and allows easy loading/unloading.
Tongue and Coupler: Connects to your vehicle’s hitch. Length affects maneuverability, while coupler size must match your hitch ball.
Common Misconceptions About DIY Trailers
Many anglers believe building a kayak trailer requires professional welding skills or expensive equipment. In reality, basic welding techniques and rental equipment can produce excellent results. Another misconception is that homemade trailers lack durability – properly constructed DIY trailers often outlast commercial options because builders can select superior materials and construction methods.
Why Building Matters for Kayak Fishing
When you’re serious about kayak fishing, your trailer becomes an extension of your fishing system. Commercial trailers rarely accommodate the specific needs of fishing kayaks, which often feature longer lengths, irregular shapes, and numerous accessories. A custom-built trailer can incorporate rod holders, tackle storage, and specialized mounts for fish finders or other electronics.
Safety Considerations:
- Always verify your vehicle’s towing capacity before beginning construction
- Understand local trailer registration and inspection requirements
- Plan for proper weight distribution to prevent trailer sway
- Include safety chains and breakaway systems as required by law
Planning Your Build: Design and Materials
The foundation of any successful DIY project lies in thorough planning. When learning how to build a kayak trailer, the design phase determines everything from material costs to long-term functionality. This section guides you through creating a blueprint that matches your specific needs while staying within budget.
Determining Your Trailer Specifications
Start by measuring your kayaks – length, width, and weight. If you’re transporting fishing kayaks, remember that accessories like rod holders, fish finders, and storage compartments add both length and weight. Add 2-3 feet to your longest kayak measurement for the trailer bed length.
Weight Calculations:
- Average fishing kayak: 45-80 pounds
- Gear and accessories: 20-40 pounds per kayak
- Trailer frame: 200-400 pounds
- Safety margin: 20% above calculated weight
For example, if you’re hauling two 60-pound kayaks with 30 pounds of gear each, your total payload is 180 pounds. Add the 300-pound trailer frame, and you need an axle rated for at least 576 pounds (with 20% safety margin).
Material Selection Guide
Steel vs. Aluminum Debate:
Steel tubing (typically 2″x3″ rectangular) costs approximately $3-5 per foot and offers excellent strength-to-cost ratio. However, it requires primer and paint for corrosion protection, adding $50-100 to your budget. Steel works best for inland freshwater fishing where salt exposure is minimal.
Aluminum tubing costs $8-12 per foot but eliminates corrosion concerns entirely. For ocean fishing kayaks or coastal environments, aluminum’s longevity justifies the higher initial cost.
Hardware and Components:
- Axle assembly: $150-300 (depending on capacity)
- Wheels and tires: $100-200
- Coupler and tongue: $50-100
- Lights and wiring: $30-60
- Bunks and carpet: $40-80
- Miscellaneous hardware: $50-100
Design Variations for Different Needs
Single Kayak Trailer: Simplest design using a 4’x8′ frame. Perfect for dedicated anglers with one primary fishing kayak. Includes storage space for rods, tackle, and safety equipment.
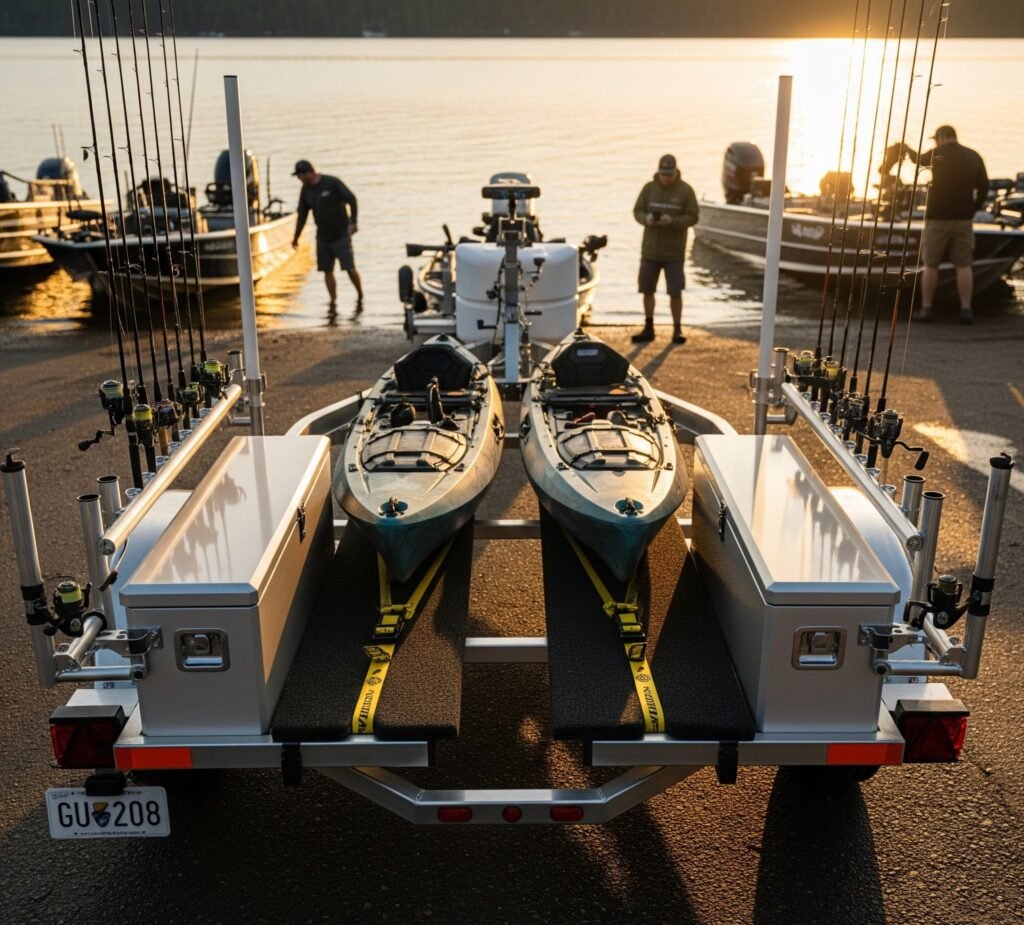
Multi-Kayak Trailer: Accommodates 2-4 kayaks using tiered bunk systems or side-by-side arrangements. Essential for families or fishing guides transporting multiple vessels.
Convertible Design: Features removable bunks that allow the trailer to transport other equipment when not carrying kayaks. Popular among anglers who also hunt or camp.
Creating Your Blueprint
Sketch your design from multiple angles, including:
- Top view showing kayak placement and clearances
- Side view illustrating ground clearance and approach angles
- Rear view confirming light placement and safety chain attachment
Pro Tip: Use free online tools like SketchUp or even graph paper to create scale drawings. This prevents costly mistakes during construction and helps visualize the finished product.
Essential Tools and Safety Equipment
Success in building a kayak trailer depends heavily on having the right tools and maintaining strict safety protocols. While you don’t need a professional fabrication shop, certain tools are non-negotiable for quality results and personal safety.
Must-Have Tools for Construction
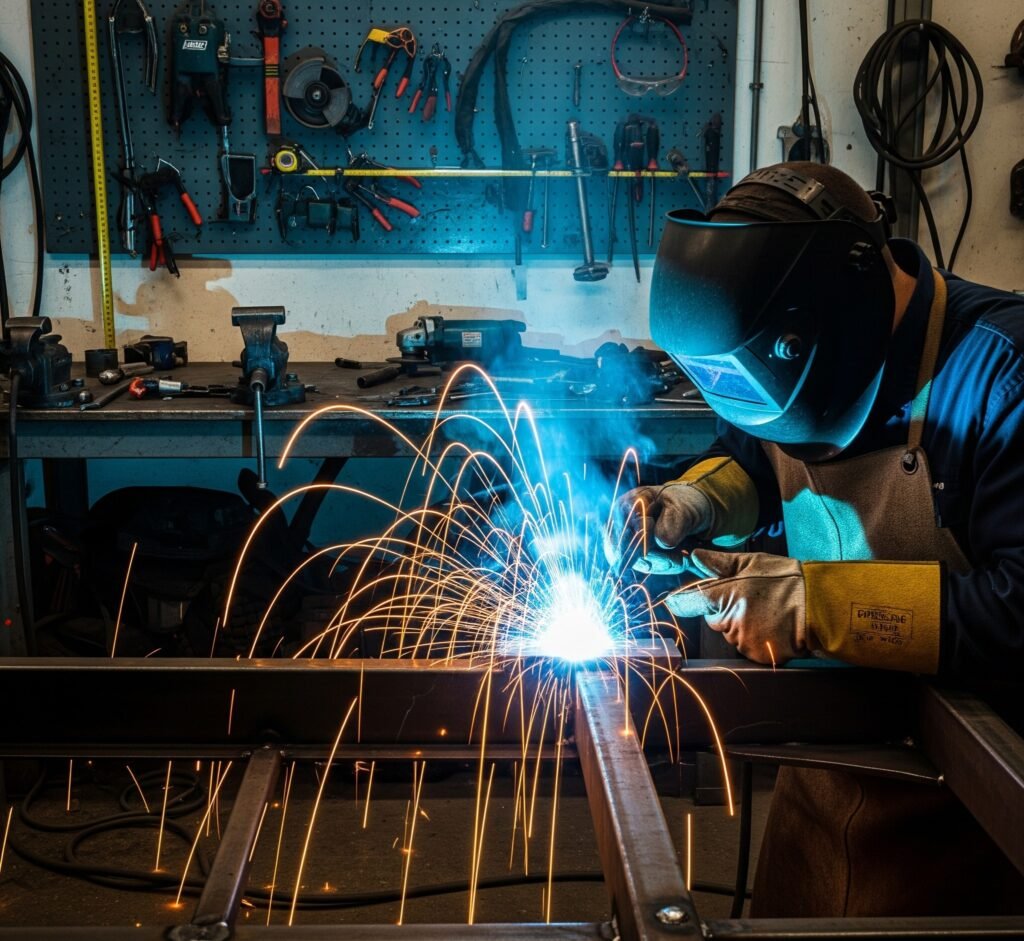
Welding Equipment:
A stick welder (SMAW) or wire-feed welder (MIG) forms the heart of your tool collection. For beginners, a 110V wire-feed welder offers the easiest learning curve and produces clean welds on thin materials. Expect to spend $200-500 for a quality unit, or consider rental options at $40-60 per day.
Cutting and Shaping Tools:
- Angle grinder with cutting and grinding discs
- Hacksaw or reciprocating saw for rough cuts
- Metal files for finishing edges
- Center punch and drill bits for precise holes
- Measuring tape, square, and level for accuracy
Assembly Tools:
- Socket set and wrenches for hardware installation
- Clamps and magnetic holders for positioning during welding
- Wire brush for cleaning welds and removing scale
Safety Equipment Requirements
Personal Protection:
Welding helmet with auto-darkening lens ($50-150) protects your eyes and face from harmful radiation. Leather welding gloves, long sleeves, and closed-toe shoes prevent burns from sparks and hot metal. Safety glasses are essential when grinding or cutting.
Workshop Safety:
Fire extinguisher rated for electrical and metal fires must be within easy reach. Adequate ventilation removes welding fumes, while a stable work surface prevents accidents during assembly.
Pro Tip: Many community colleges offer weekend welding courses for $100-200. The skills learned in a single course will serve you for a lifetime of DIY projects.
Tool Alternatives and Budget Options
If purchasing welding equipment exceeds your budget, consider these alternatives:
Bolt-Together Design: Use pre-drilled steel angles and plates with bolts instead of welding. While heavier and potentially less rigid, this approach requires only basic hand tools.
Rental Options: Many tool rental shops offer welding equipment and basic instruction. This works well for one-time projects.
Community Resources: Maker spaces, community workshops, and even some libraries now offer access to fabrication tools and instruction.
Step-by-Step Construction Process
Now comes the exciting part – transforming your plans and materials into a functional kayak trailer. This section breaks down the construction process into manageable phases, ensuring even novice builders can achieve professional results.
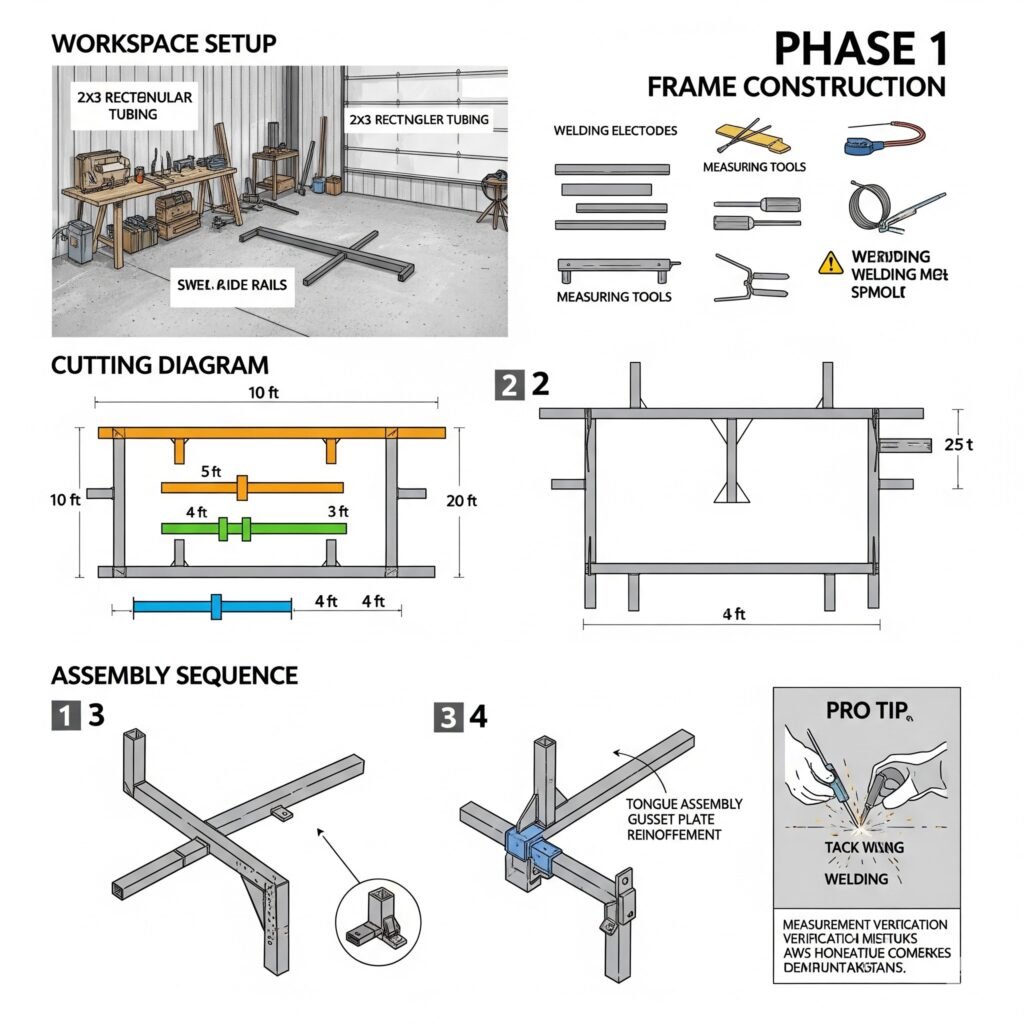
Phase 1: Frame Construction
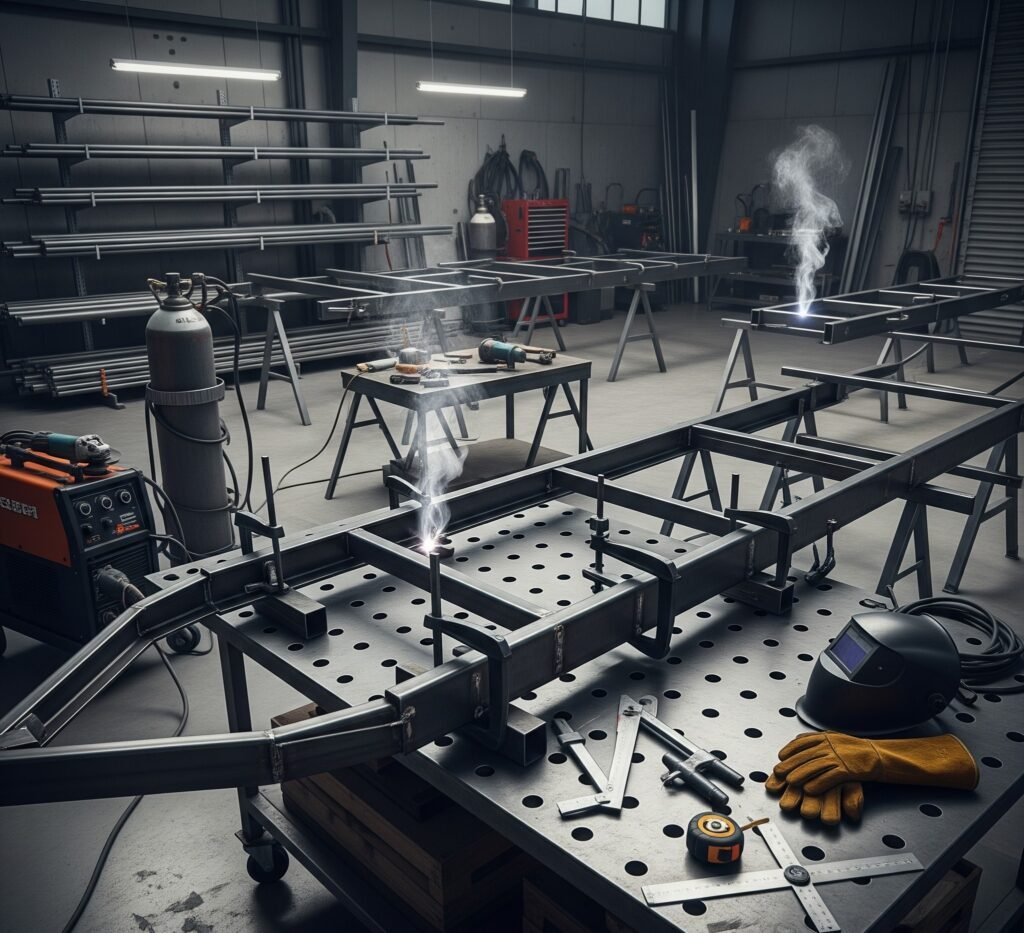
Preparing Your Workspace:
Set up on a level concrete surface with adequate lighting and ventilation. Lay out all materials and double-check measurements before making any cuts. Mark cutting points with a center punch to prevent drill bits from wandering.
Building the Main Frame:
Start with the trailer bed frame using 2″x3″ rectangular tubing. For a standard single-kayak trailer, cut:
- Two side rails: 10 feet each
- Three cross members: 4 feet each
- Tongue assembly: 4 feet
Weld cross members perpendicular to side rails, maintaining 90-degree angles using a framing square. The front and rear cross members should be flush with the rail ends, while the center member provides additional support.
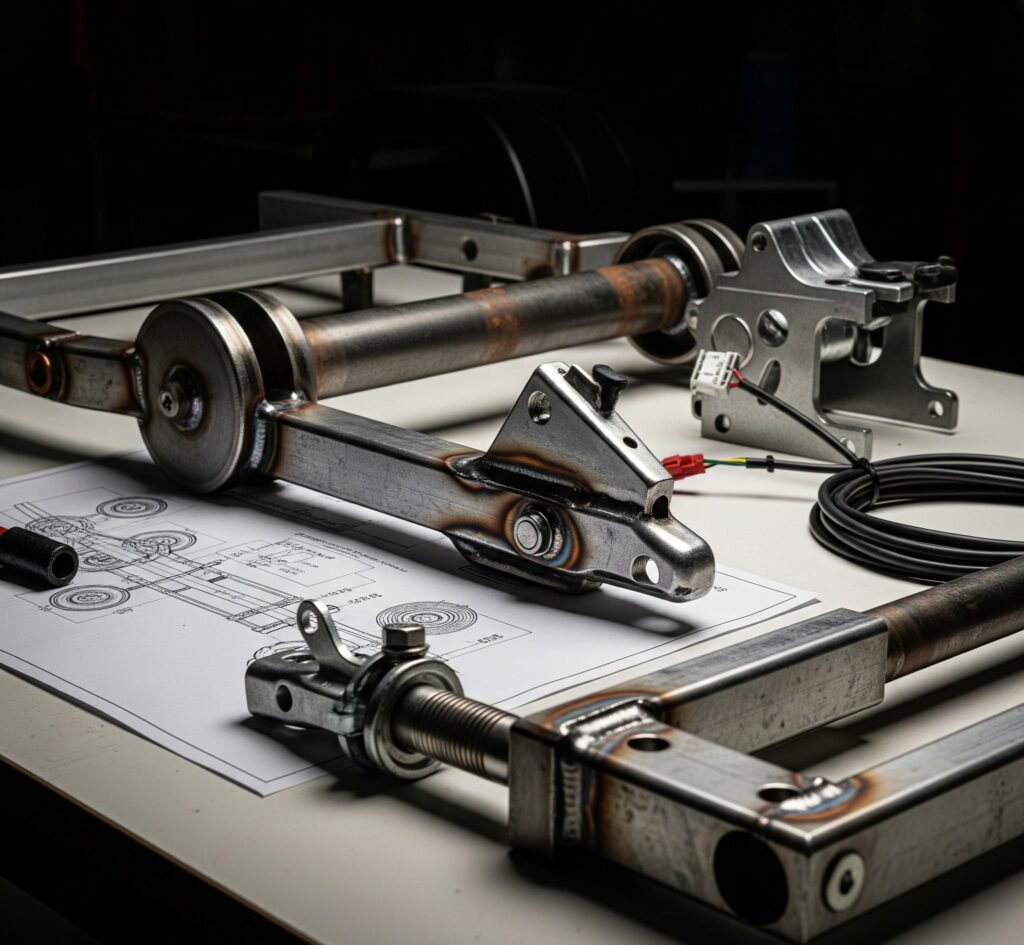
Tongue Assembly:
The tongue transfers all forces from trailer to vehicle, making proper construction critical. Use 2″x3″ tubing extending 3-4 feet forward from the front cross member. Reinforce the connection point with gusset plates cut from 1/4″ steel plate.
Pro Tip: Tack weld all joints first, then check measurements and alignment before completing final welds. This prevents accumulated errors that can ruin your project.
Phase 2: Axle and Suspension Installation
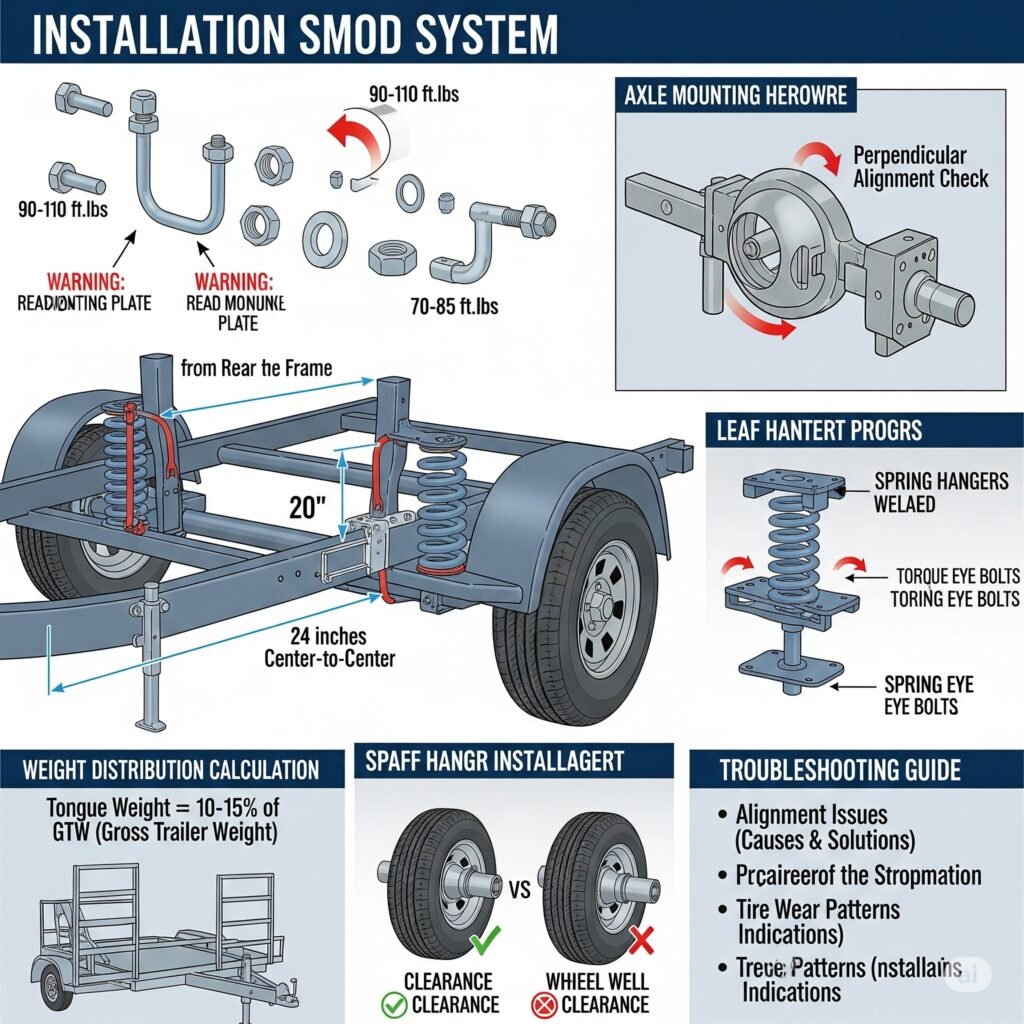
Axle Mounting:
Position the axle 18-24 inches from the rear of the frame for proper tongue weight (10-15% of total trailer weight). Use U-bolts and mounting plates designed for your specific axle. Ensure the axle is perfectly perpendicular to the frame centerline to prevent tire wear.
Spring Mounting (if applicable):
Leaf spring suspensions require spring hangers welded to the frame. Follow manufacturer specifications for placement and torque values. Improper installation can lead to premature failure or dangerous handling characteristics.
Wheel Installation:
Mount wheels and check for proper clearance during full suspension travel. Spin each wheel to verify smooth operation and absence of binding.
Phase 3: Bunk System Construction
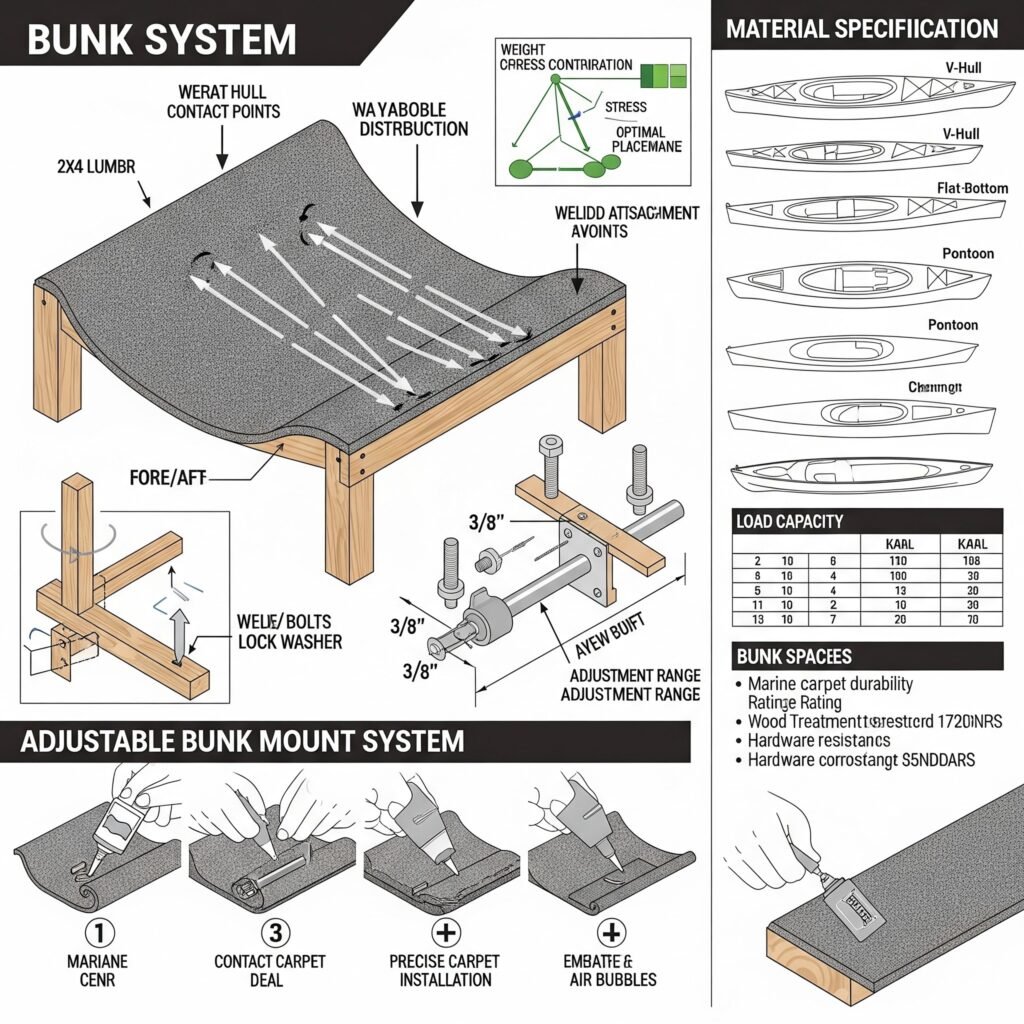
Bunk Design for Kayak Support:
Bunks cradle your kayak hull and distribute weight evenly. For most fishing kayaks, use 2″x4″ lumber covered with marine carpet. Position bunks to support the kayak at strong points while avoiding stress concentrations.
Adjustable Bunk Systems:
Create adjustability by welding bunk mounts that allow fore/aft and height adjustments. This accommodates different kayak models and loading preferences. Use 3/8″ bolts with lock washers for secure positioning.
Carpet Installation:
Marine carpet protects kayak hulls from scratches while providing grip during loading. Use contact cement for permanent installation, ensuring smooth application without wrinkles or air bubbles.
Phase 4: Tongue and Coupler Assembly
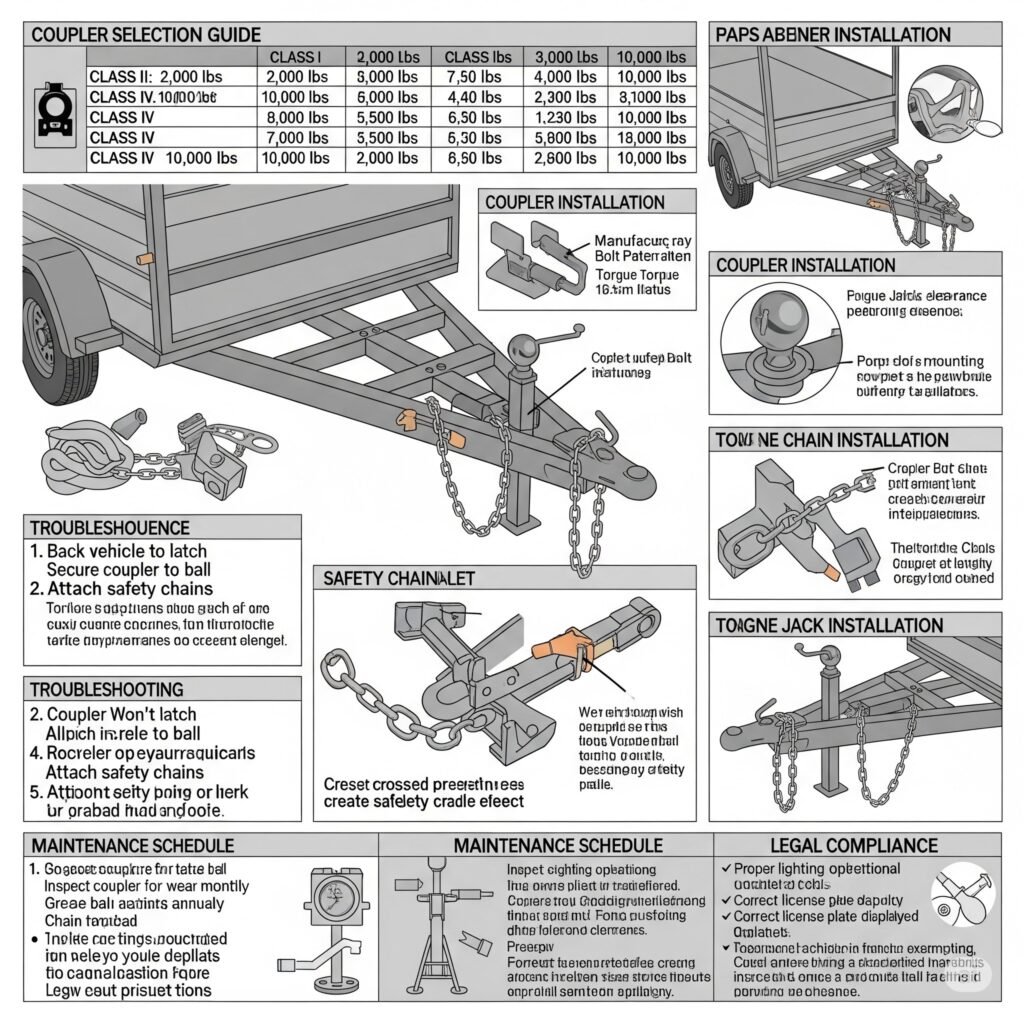
Coupler Selection and Installation:
Choose a coupler rated for at least 150% of your trailer’s gross weight. Install using the manufacturer’s bolt pattern and torque specifications. The coupler should be level when the trailer is loaded and the tow vehicle is on level ground.
Safety Chain Attachment:
Weld safety chain attachment points to the tongue, positioned to catch the coupler if it becomes disconnected. Chains should cross under the tongue to cradle it during emergencies.
Jack Installation:
A tongue jack simplifies hitching and unhitching. Mount it securely to the tongue with adequate clearance for full extension and retraction.
Wiring and Safety Features
Proper electrical systems and safety features transform your homemade trailer from a basic transport device into a road-legal, safe vehicle. Understanding how to build a kayak trailer includes mastering these critical safety systems.
Electrical System Basics
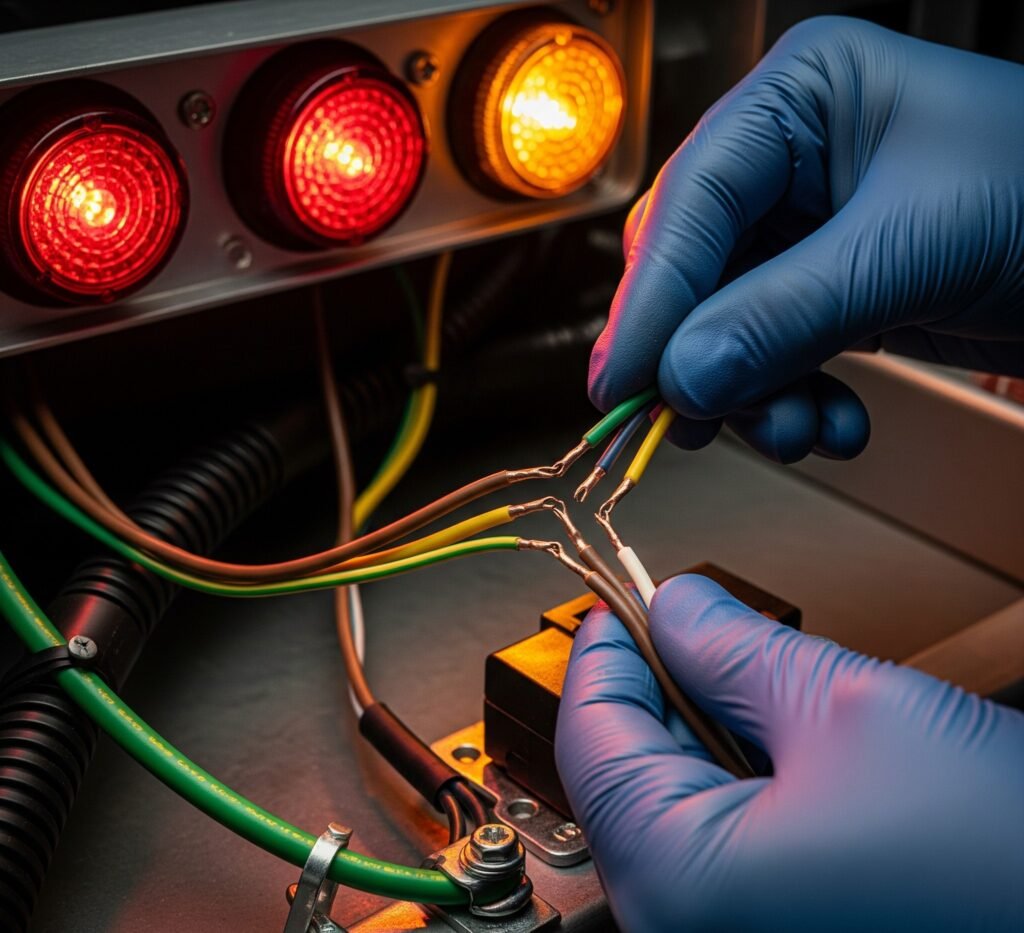
Understanding Trailer Wiring:
Most trailers use either 4-pin or 7-pin connectors. For kayak trailers under 3,000 pounds, a 4-pin system provides adequate functionality:
- White: Ground
- Brown: Tail/running lights
- Yellow: Left turn/brake
- Green: Right turn/brake
Wire Routing and Protection:
Route wiring along the frame using plastic conduit or wire loom for protection. Avoid areas where wires might contact moving parts or sharp edges. Use marine-grade wire for corrosion resistance, especially if you’ll be launching at saltwater locations where you might be using ocean fishing kayaks.
Light Placement and Mounting:
Tail lights must be visible from 500 feet and mounted at least 15 inches above ground. Side marker lights are required on trailers over 80 inches wide. Use LED lights for longevity and lower power consumption.
Advanced Safety Features
Breakaway System Installation:
Trailers over 3,000 pounds require breakaway systems that apply trailer brakes if the coupler disconnects. While most kayak trailers fall below this threshold, installing one adds valuable safety margin.
Reflective Tape and Markings:
Apply DOT-approved reflective tape to the rear corners and sides of your trailer. This dramatically improves visibility during dawn, dusk, and nighttime travel.
Spare Tire Mount:
Design a secure spare tire mount that doesn’t interfere with kayak loading. A flat tire 50 miles from home can ruin a fishing trip, especially when towing to remote locations.
Testing Electrical Systems
Systematic Testing Process:
Before your first road trip, test all electrical functions with the trailer connected to your vehicle:
- Running lights (should illuminate with headlights)
- Left turn signal and brake light
- Right turn signal and brake light
- Hazard lights (all signals simultaneously)
Troubleshooting Common Issues:
- Dim lights often indicate poor ground connections
- Intermittent operation suggests loose connections
- Complete failure usually means blown fuses or incorrect wiring
Pro Tip: Carry a basic electrical kit including spare bulbs, fuses, and a test light. Many fishing trips have been saved by quick roadside electrical repairs.
🚤 DIY Kayak Trailer Cost Calculator
Finishing Touches and Customization
The difference between a basic trailer and a fishing-specific transport system lies in the thoughtful details and customizations. This phase of learning how to build a kayak trailer focuses on features that enhance functionality and protect your investment.
Surface Protection and Finishing
Rust Prevention Strategies:
For steel trailers, proper surface preparation determines longevity. Remove all welding scale with a wire brush or grinder, then apply a quality primer designed for metal surfaces. Follow with two coats of marine-grade paint for maximum protection.
Galvanizing Options:
Hot-dip galvanizing provides superior corrosion protection but requires professional application. For DIY builders, cold galvanizing spray offers reasonable protection at lower cost. Apply immediately after welding while metal is clean.
Aluminum Finishing:
Aluminum trailers benefit from anodizing or powder coating for enhanced durability. While not strictly necessary, these treatments improve appearance and provide additional protection against saltwater corrosion.
Fishing-Specific Customizations
Rod Storage Solutions:
Fishing kayaks require secure rod transport. Build PVC rod tubes mounted along the trailer sides, or create overhead racks that keep rods separate from kayaks. Ensure adequate padding to prevent damage during transport.
For anglers who enjoy fly fishing from a kayak, consider specialized rod holders that accommodate longer fly rods without breaking them down.
Tackle and Gear Storage:
Waterproof storage boxes mounted to the tongue or frame keep essential gear organized and accessible. Include compartments for:
- Safety equipment (whistles, flares, first aid)
- Spare kayak parts (plugs, bungee cords)
- Tools for minor repairs
- Registration and insurance documents
Accessory Mounts:
Create mounting points for kayak accessories like fish finders, rod holders, or anchor systems. This prevents loss during transport and keeps expensive electronics secure.
Comfort and Convenience Features
Loading Aids:
Install guide rails or stops that help position kayaks consistently during loading. This is especially valuable when loading alone or in poor lighting conditions.
Tie-Down Systems:
Permanently mounted tie-down points eliminate the need for separate straps and hooks. Use marine-grade hardware rated for dynamic loads. Position points to secure both bow and stern of each kayak.
Work Surface Addition:
A fold-down table mounted to the tongue provides a clean surface for rigging, bait preparation, or equipment maintenance. Size it to accommodate your specific needs without interfering with normal operation.
Testing and Legal Requirements
Before hitting the road with your new trailer, thorough testing and legal compliance ensure safe, worry-free adventures. This critical phase of learning how to build a kayak trailer can prevent accidents and legal issues.
Comprehensive Testing Protocol
Static Load Testing:
Load your trailer with kayaks and gear, then inspect all welds, connections, and mounting points for signs of stress or deformation. Pay special attention to the tongue-to-frame connection and axle mounts, as these experience the highest loads.
Dynamic Testing Process:
Start with short, low-speed drives in safe areas like empty parking lots. Gradually increase speed and distance while monitoring trailer behavior. Watch for:
- Excessive sway or instability
- Unusual tire wear patterns
- Loose or rattling components
- Electrical system malfunctions
Brake Testing (if equipped):
Test trailer brakes separately from vehicle brakes to ensure proper operation. Check brake fluid levels and adjustment according to manufacturer specifications.
Legal Compliance Requirements
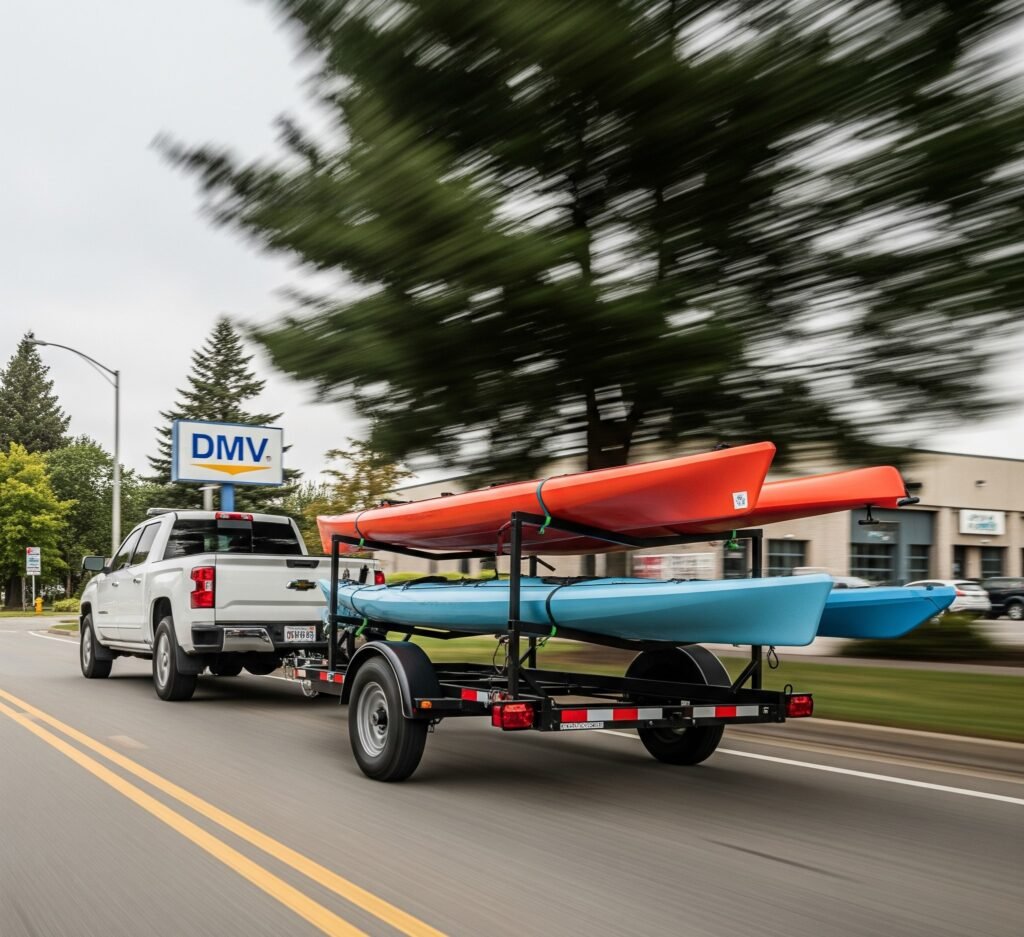
Registration and Titling:
Most states require trailer registration for units over specific weight or value thresholds. Contact your local DMV for specific requirements in your area. Homemade trailers often require additional inspections or documentation.
Insurance Considerations:
Verify that your auto insurance covers trailer liability and physical damage. Some policies exclude homemade trailers or require additional coverage. Don’t assume you’re covered without checking.
Weight and Dimension Limits:
Understand legal limits for:
- Maximum trailer width (typically 8’6″)
- Maximum length (varies by state)
- Gross vehicle weight rating (GVWR)
- Tongue weight percentages
Pro Tip: Keep a folder with registration, insurance, and construction documentation in your vehicle. This proves legal compliance and helps with any roadside questions.
Safety Inspection Checklist
Pre-Trip Inspection Routine:
Develop a systematic inspection routine for every trip:
✅ Tire Condition: Check pressure, tread wear, and sidewall damage
✅ Wheel Bearings: Listen for unusual noises during slow-speed turns
✅ Lights: Test all electrical functions
✅ Hitch Connection: Verify coupler engagement and safety chain attachment
✅ Load Security: Confirm all tie-downs are tight and properly positioned
✅ Tongue Weight: Ensure proper balance for safe handling
Annual Maintenance Schedule:
- Repack wheel bearings
- Inspect and touch up paint
- Check tire condition and replace if necessary
- Verify all electrical connections
- Inspect welds for cracks or corrosion
- Update registration and insurance
Maintenance and Troubleshooting
A well-maintained trailer provides years of reliable service while protecting your valuable fishing kayaks. Understanding proper maintenance procedures completes your education in how to build a kayak trailer and ensures long-term satisfaction with your project.
Routine Maintenance Procedures
Monthly Inspections:
Before each fishing season and monthly during heavy use, perform systematic inspections. Check tire pressure using an accurate gauge – under-inflated tires cause premature wear and poor fuel economy. Inspect lug nuts for proper torque, especially during the first 100 miles after any wheel service.
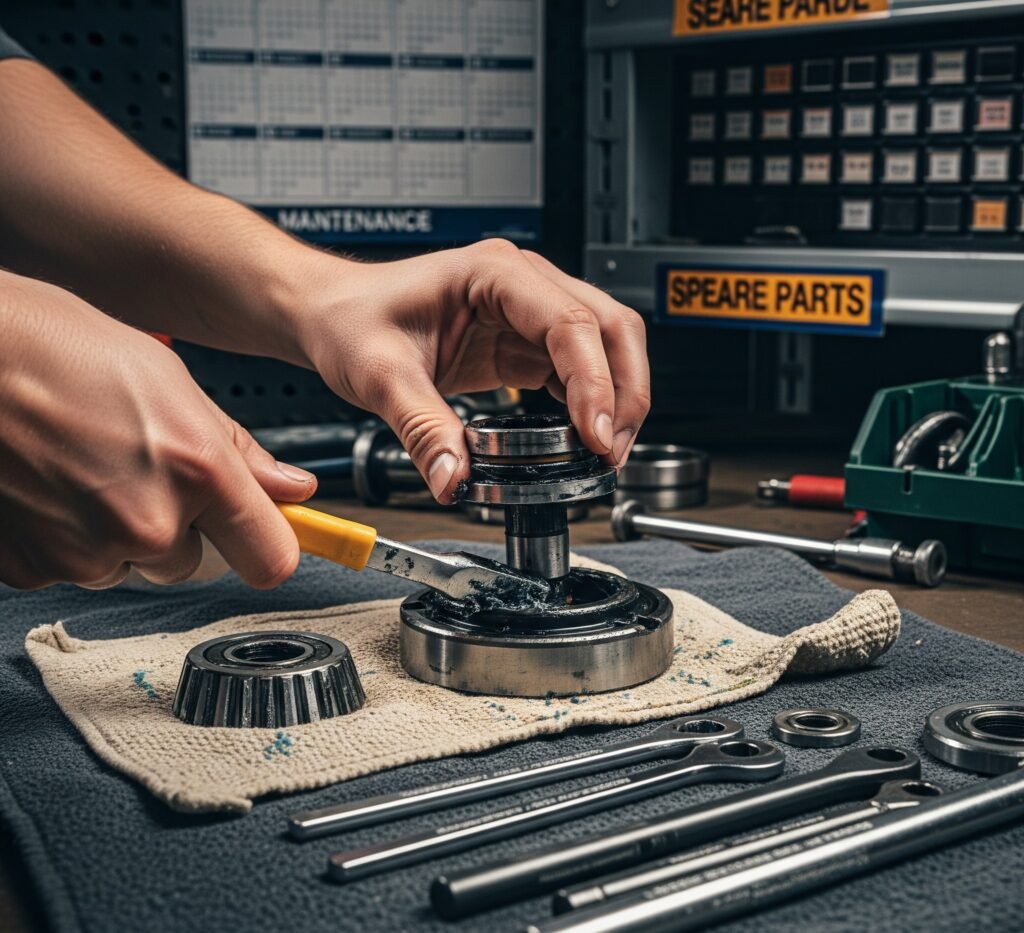
Bearing Maintenance:
Wheel bearings require annual repacking for most recreational use. Signs of bearing problems include wheel wobble, grinding noises, or excessive heat after driving. Learn to recognize these symptoms early to prevent costly damage.
Electrical System Care:
Corrosion attacks electrical connections, especially in marine environments. Apply dielectric grease to all connections and inspect wiring regularly. LED lights last longer than incandescent bulbs and draw less power from your vehicle’s electrical system.
Common Problems and Solutions
Trailer Sway Issues:
Excessive sway often indicates improper tongue weight or overloading. Tongue weight should be 10-15% of total trailer weight. Moving the axle forward increases tongue weight, while moving it backward decreases it.
Tire Wear Patterns:
- Center wear: Over-inflation
- Edge wear: Under-inflation
- One-sided wear: Alignment problems
- Cupping: Bearing or suspension issues
Rust and Corrosion:
Address rust immediately to prevent spreading. Sand affected areas to bare metal, apply primer, and touch up with matching paint. For severe corrosion, consider professional sandblasting and refinishing.
Seasonal Maintenance Tasks
Spring Preparation:
After winter storage, inspect all systems before the fishing season begins. Check tire condition, test electrical systems, and verify that all moving parts operate smoothly. This is an excellent time to repack bearings and replace any worn components.
Fall Storage Preparation:
Clean the trailer thoroughly, especially if you’ve launched in saltwater. Apply a coat of wax to painted surfaces and store in a dry location if possible. Consider removing wheels and storing them off the ground to prevent flat spots.
Winter Storage Tips:
- Block the trailer to remove weight from tires
- Disconnect the battery if equipped with electric brakes
- Cover with a breathable tarp to prevent moisture accumulation
- Store in a location where you can perform periodic inspections
DIY vs Commercial Kayak Trailers Comparison
| Feature | DIY Build | Commercial |
|---|---|---|
| Initial Cost | $300-$800 | $800-$2,000 |
| Customization | Fully customizable to your needs | Limited options available |
| Build Time | 1-3 weekends | Immediate availability |
| Skills Required | Basic tools (welding optional) | None required |
| Warranty | Self-maintained | 1-3 year warranty |
| Future Modifications | Easy to modify and upgrade | Difficult to modify |
| Weight Capacity | 400-1,200 lbs (customizable) | Fixed capacity options |
Frequently Asked Questions
Conclusion
Building your own kayak trailer represents more than just a cost-saving project – it’s an investment in your fishing future that pays dividends every time you hit the water. Through this comprehensive guide on how to build a kayak trailer, you’ve gained the knowledge to create a custom transport solution that perfectly matches your specific needs, whether you’re hauling a single fishing kayak or multiple vessels for family adventures.
The key benefits of DIY trailer construction extend far beyond the 40-60% cost savings compared to commercial options. You’ve learned to create customized storage solutions for your fishing gear, design loading systems that accommodate your physical capabilities, and build in the exact features that enhance your fishing experience. From specialized rod holders to weatherproof tackle storage, your custom trailer becomes an extension of your fishing system rather than just a transport device.
Essential takeaways from your trailer-building journey:
- Start with thorough planning – proper design prevents costly mistakes and ensures your finished trailer meets all your requirements
- Prioritize safety throughout construction – from welding protection to road-legal compliance, safety considerations protect both you and other drivers
- Focus on quality materials and construction – the extra cost of marine-grade components pays for itself through years of reliable service
- Test extensively before relying on your trailer – systematic testing identifies problems before they become roadside emergencies
Your next step is putting this knowledge into action. Start by creating detailed plans based on your specific kayaks and fishing style. Whether you’re transporting tandem kayaks for fishing or specialized sit-inside fishing kayaks, your custom-built trailer will provide years of reliable service while opening up new fishing opportunities.
Remember that building a kayak trailer is a skill-building exercise that prepares you for future DIY projects. The welding, fabrication, and problem-solving abilities you develop will serve you well for boat repairs, fishing gear modifications, and countless other projects. Every successful fishing trip using your homemade trailer reinforces the satisfaction of creating something both functional and uniquely yours.
Take the first step today by measuring your kayaks and researching local material suppliers. Your dream fishing destinations are waiting, and with your custom-built trailer, getting there safely and efficiently is no longer a challenge but a confident journey toward your next great fishing adventure.